How to Update WHM/cPanel Version
If you have reseller, VPS or Dedicated Server hosting, you’ll probably be using WebHostManager/cPanel. As security is of great importance when it comes to web hosting, this software is often updated on a regular basis, and it’s important that you keep it up-to-date. To update your WHM/cPanel version, complete the following steps:
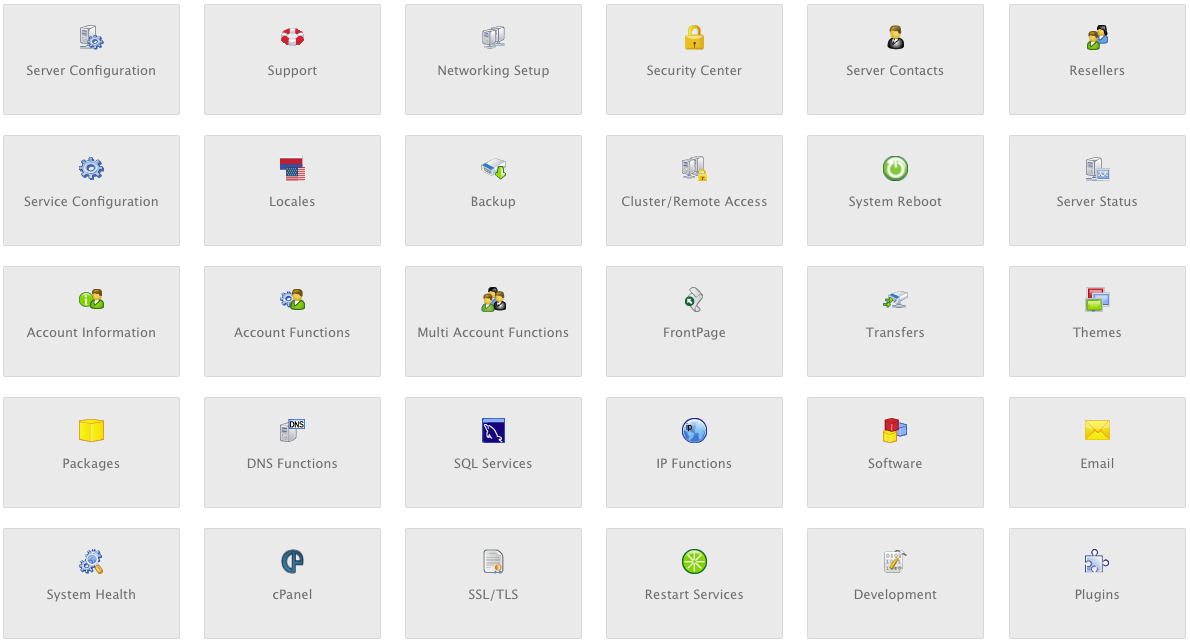
1. Log in to your WHM account using your root credentials, you should then be presented with the main page such as this -
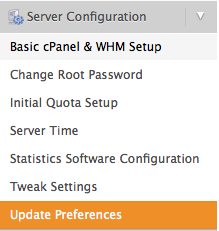
2. In the left sidebar menu, look for ‘Server Configuration’, then click ‘Update Preferences’ -
3. Once in the Update Preferences area, you can select one of five release tier options. We recommend choosing either the ‘Stable’ or ‘Release’ tier, but you can also choose from LTS, Current and Edge. In this case, we’ll be selecting the ‘Release’ tier, currently at version 11.40.0.19.

4. Scroll down the page, then click ‘Update’, and a green bar should appear at the top of the page -

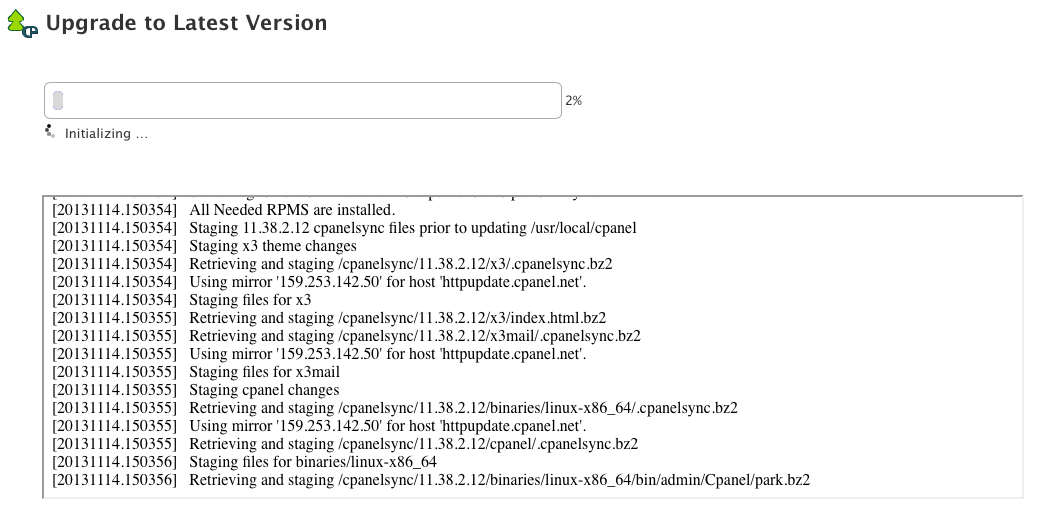
5. Click the blue ‘Update Now’ button, and the upgrade process should begin.
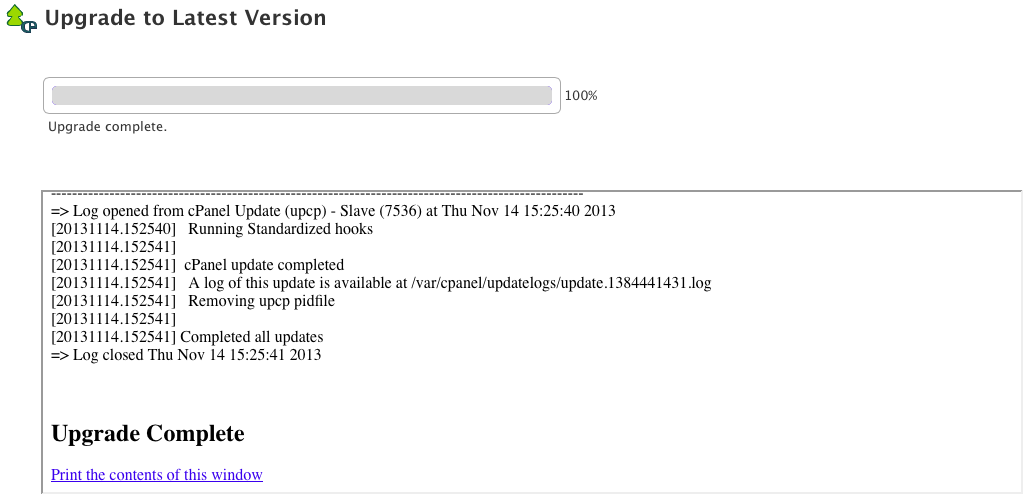
6. Once completed, if you look at the top bar in your WHM, you should now see the version you have updated to – in this case WHM 11.40.0.19.
![]()
Was this article helpful?